


License Plate Frame Bracket for Land for Rover for Defender 2020-2025 ABS Mounting Kit Front Bumper Relocation Holder 1PCS

 4.9 (55 items)
 Limited Time Sale
US$54.00 cheaper than the new price!!
Free cash-on-delivery fees for purchases over $99
Product details
| Management number | 213153764 | Release Date | 2026/04/12 | List Price | US$36.00 | Model Number | 213153764 | ||
|---|---|---|---|---|---|---|---|---|---|
| Category | |||||||||
Product descriptionPreparation Before InstallationPreparation before installationCheck accessories: Make sure the package contains license plate brackets, 4 screws (and other installation tools that may be required (such as Phillips screwdrivers or electric drills, etc.). and installation position: Confirm the original screw hole position on the bumper of the car. The bumpers of some models have license plate installation holes reserved for direct alignment; if there are no reserved holes, additional drilling is required.Tool preparation:Phillips screwdriver or electric drill (if drilling is required)Measuring ruler (ensure the hole position symmetrical) (mark the drilling position)Safety gloves and goggles (protection during drilling)Situation 1: The bumper already has a mounting holeAlign the bracket: Align the license plate bracket with the original screw holes on the bumper to ensure horizontal and avoid skew.Fixing screws:Priority is given to the use of original screws of the vehicle (better adaptability). If the original screw is lost or damaged, use the spare screws provided in the package instead.Tighten clockwise with a screwdriver to ensure that the bracket is stable and does not shake.If the original hole distance is wide Situation 2: No installation holes for the bumper (drilling required)Measurement :According to the hole distance of the license plate bracket, use a ruler to mark the drilling points on the bumper to ensure that the left and right symmetry is met and comply with local license plate installation regulations (such as ground height requirements).Drilling operation:Use a drill bit that is suitable for bumper material (usually 3-4mm diameter) and drill the holes slowly and vertically to avoid cracking of the plastic bumper. the debris after drilling to scratches on the paint surface.Installation bracket:Align the bracket at the holes of the newly drilled, secure it with the self-tapping screws (or additional screws purchased) in the package, and tighten until there is no loosening.
- 【Premium ABS Plastic】:Our license plates holders adapt multi-protection layer to ensure that there will be no fading or rust problems. for Unique technology makes the surface more smooth. Made of high hardness and thicken ABS Plastic, the material is light weight but still durable, which will protect better your license plates.
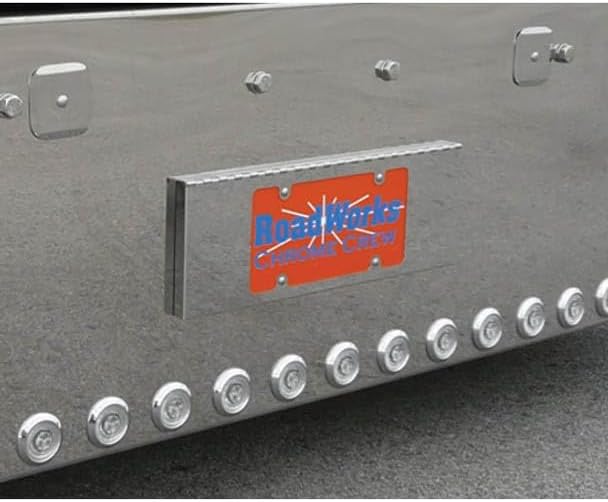
- 【Improve the look of your Defender】: This is not a one size fits all. We tested hundreds of configurations on vehicle models to be compatible with Land for Rover for Defender 2020 2021 2022 2023 2024 2025.The License Plate Mounting Bracket fits your bumper like it was meant to be there.
- 【Firm Installation】 Anti-shake and anti-loss, fixed with high-strength self-tapping screws, need to be drilled in the bumper to install, to ensure that the license plate frame fits tightly and does not loosen, driving without abnormal noise, effectively avoiding the risk of screws falling off or license plate loss.
- 【Easy Installation】: Align the license plate bracket to the existing hole position on the bumper. If there are no holes in the bumper, you need to measure and mark the drilling position yourself. If you are not familiar with the drilling or installation process, it is recommended to go to a professional auto repair shop for installation to ensure safety and correctness. If there are holes in the bumper and the holes match the license plate bracket, use the original screws of the vehicle to secure the bracket directly. Insert the screw into the hole in the bracket and tighten and tighten with a screwdriver.
| Brand | zuzengstory |
|---|---|
| Model | zuzengstory |
| Exterior | Brushed |
| Item Weight | 1.76 ounces |
| Manufacturer | zuzengstory |
| Item model number | zuzengstory |
| Package Dimensions | 0.39 x 0.39 x 0.39 inches |
| Manufacturer Part Number | RAPELPTRD |
Bestseller ranking
Fasteners


Customers who viewed this product also viewed
Outlet Switches


Correction of product information
If you notice any omissions or errors in the product information on this page, please use the correction request form below.
Correction Request Form